Onboarding Loans into LMS
Onboarding loans into LMS
Once an application has been approved/funded, it is onboarded into the LMS. Every application is associated with a loan and a borrower. A borrower can have multiple loans and applications. The LMS is now responsible for tracking the loan to its logical end, which can be until it is completely paid off. When a loan is onboarded, a back-office user or a customer would like to know how the loan is doing, its outstanding balances, details of past or present transactions, and other such details. Therefore, LF provides for a back-office view of a loan in the LMS portal. The LMS portal is described in complete detail here.
Onboarding is done for two broad categories of the portfolio - an existing portfolio of loans and new loans. Existing portfolios of loans are those loans that have a schedule that is already in process for the tenant on some legacy system, accruals have been made, and/or payments have been made. Onboarding(generally called Migration in this case) of such loans is done based on a separate custom service engagement with a Tenant since it is an iterative and time-consuming process for both Lendfoundry and the Tenant. At present, data for such existing loans are shared with LF by the Tenant in Excel files, which are then processed by an ETL script to call the relevant APIs in a sequence. This then migrates the existing loans of the Tenant into the LF-LMS system.
Migration activity is performed in phases depending upon the lender’s financial products portfolio and also the volume of loans in different buckets(perfect-pay, delinquent, closed) for each of these products in the portfolio.
New loans are those loans, where approval/funding is recently made but no accruals or payments have been made. A new loan in LMS can be onboarded in LMS in the following ways:
- If the Tenant is using both Lendfoundry’s LOS and LMS, a loan will be created in LMS once the borrower application is approved/funded in the LOS.
- If the Tenant has opted for Lendfoundry’s LMS and using any other LOS, a loan can be created in LMS via onboarding APIs.
Onboarding of new loans is done via an API, depending upon the unique set-up of a tenant. Once onboarded, each loan is assigned a loan ID. Loan ID is a unique loan identifier. Upon onboarding each borrower (Business or Personal) is assigned a borrower ID. This borrower ID can be used to onboard all future loans for that borrower.
Once a loan has been onboarded, the system automatically creates a repayment schedule. The system automatically tracks accruals and updates outstanding balances for each loan.
Bulk onboarding of loans
Provides the ability to bulk upload new loan applications. The backoffice user can upload a .CSV file in a prespecified format. Once the document is uploaded, it will add desired loan applications with the given values.
-
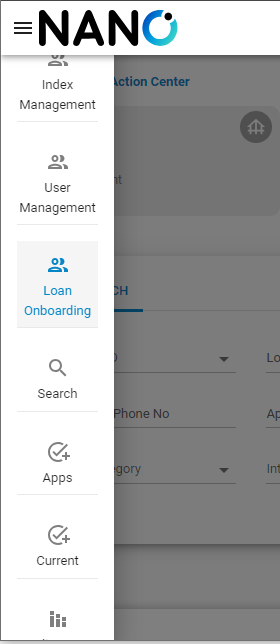
In the left action menu, we scroll to the “Loan Onboarding” option.
-
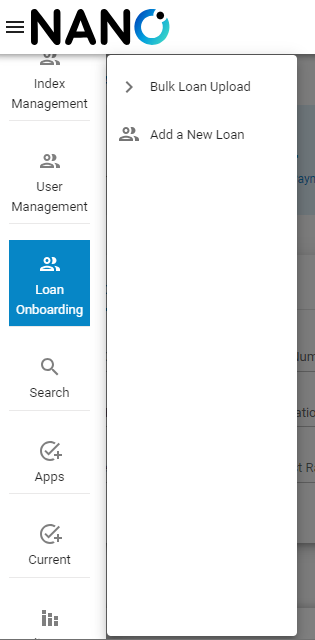
The left option menu expands to show two options, “Bulk Loan Upload” and “Add a New Loan”.
-
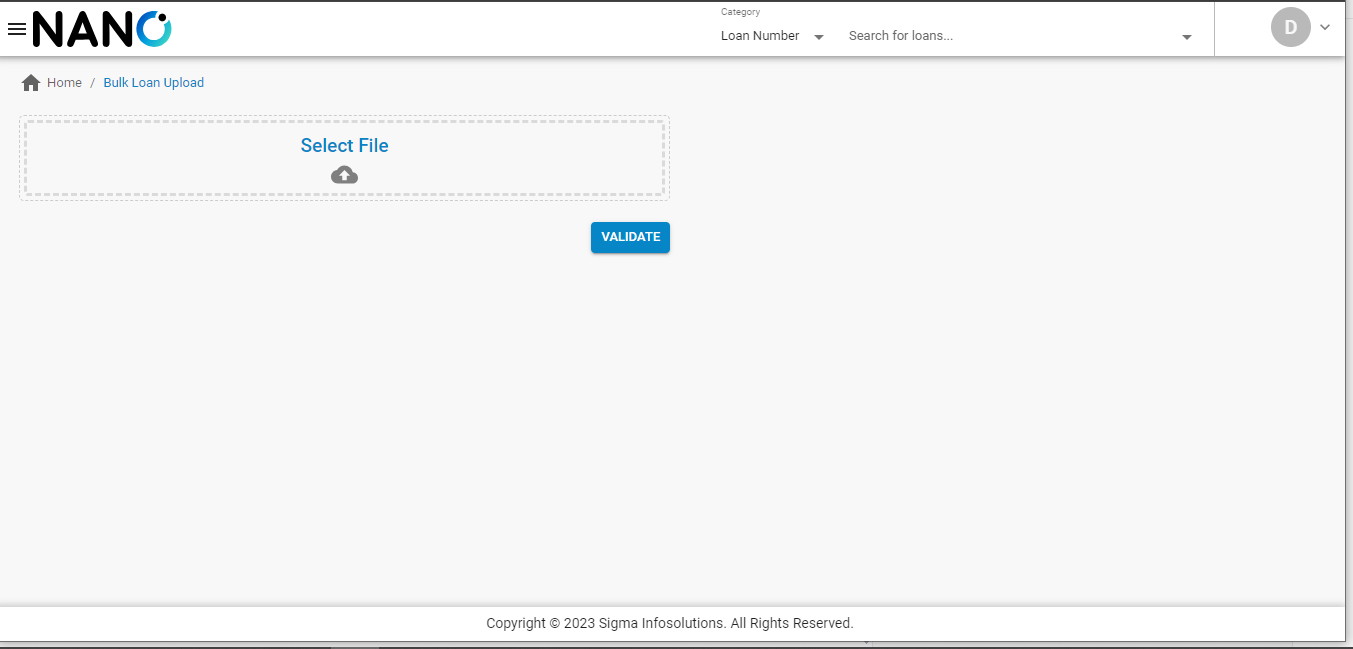
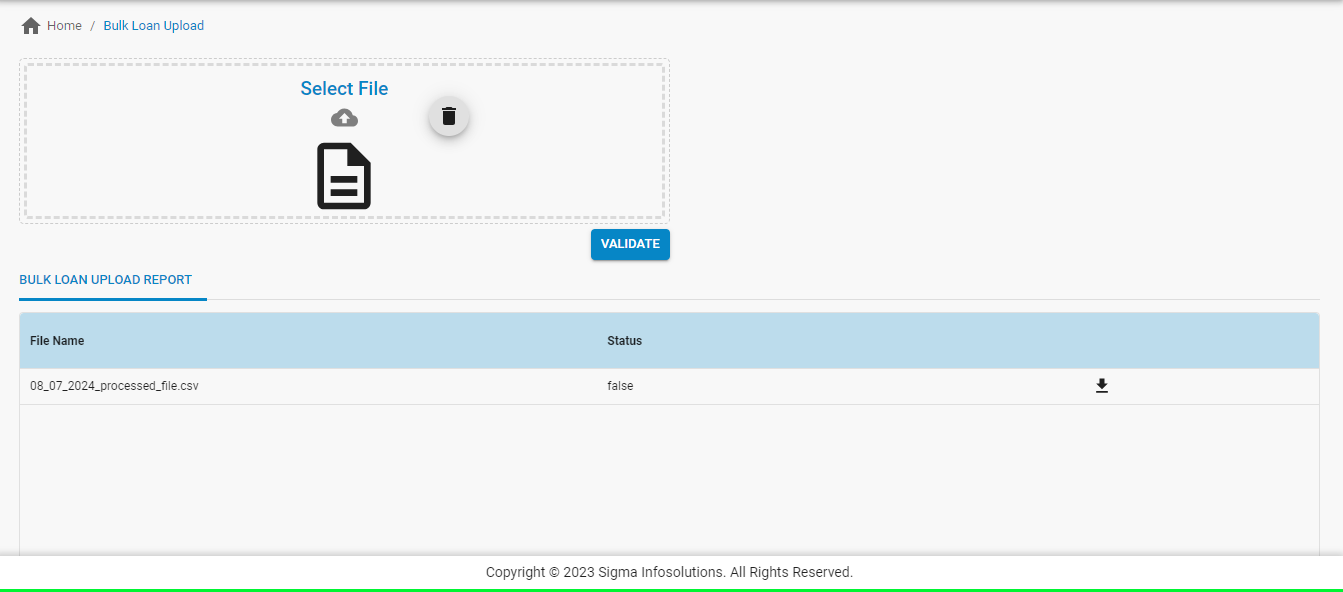
On selecting “Bulk Loan Upload”, the page is redirected to “Bulk Loan Upload”, which prompts for a file upload to be validated.
-
Once the file has been validated successfully, a new table labeled “Bulk Loan Upload Report” will appear as shown below, and the status column will have “true” as value. Also, there will be an option to "Onboard Loans". There will also be the ability to download and view the validated file.
Note: A sample file will be shared with users off the platform
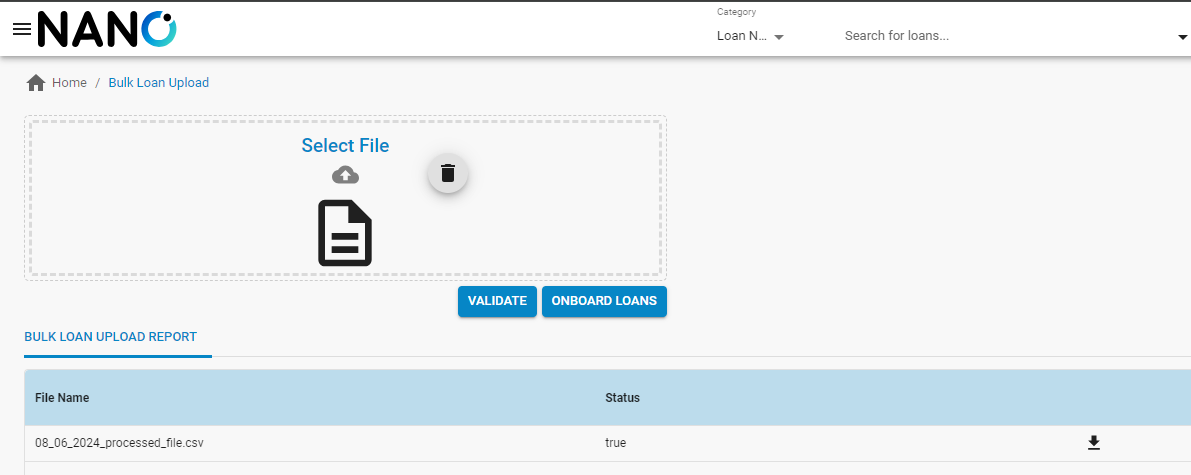
- After hitting the “Onboard Loans”, the loans will be onboarded to the system successfully. The loan numbers and other related information will be generated by the back-end based on the tenant’s number generator configuration.
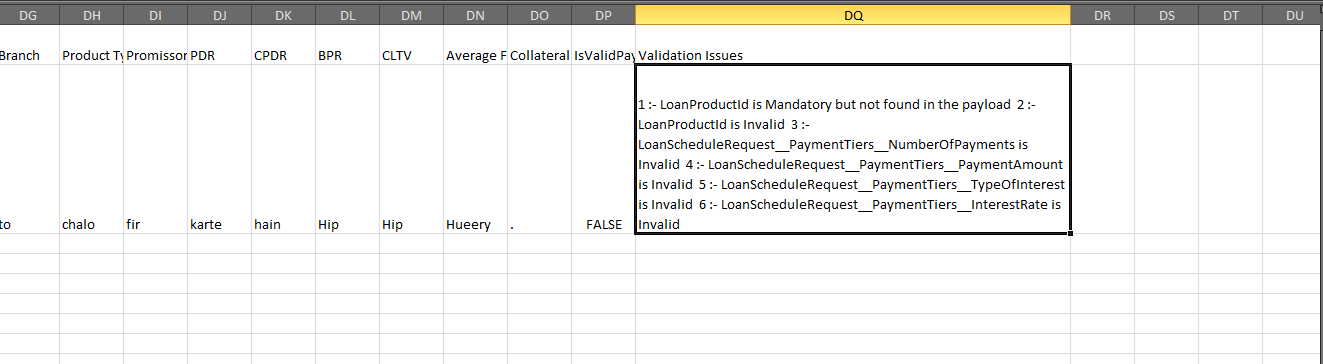
- However if the validation fails, the value in the status column will be false. The processed file can be downloaded and reviewed, with an error message at the last column.
Onboarding Loans via UI
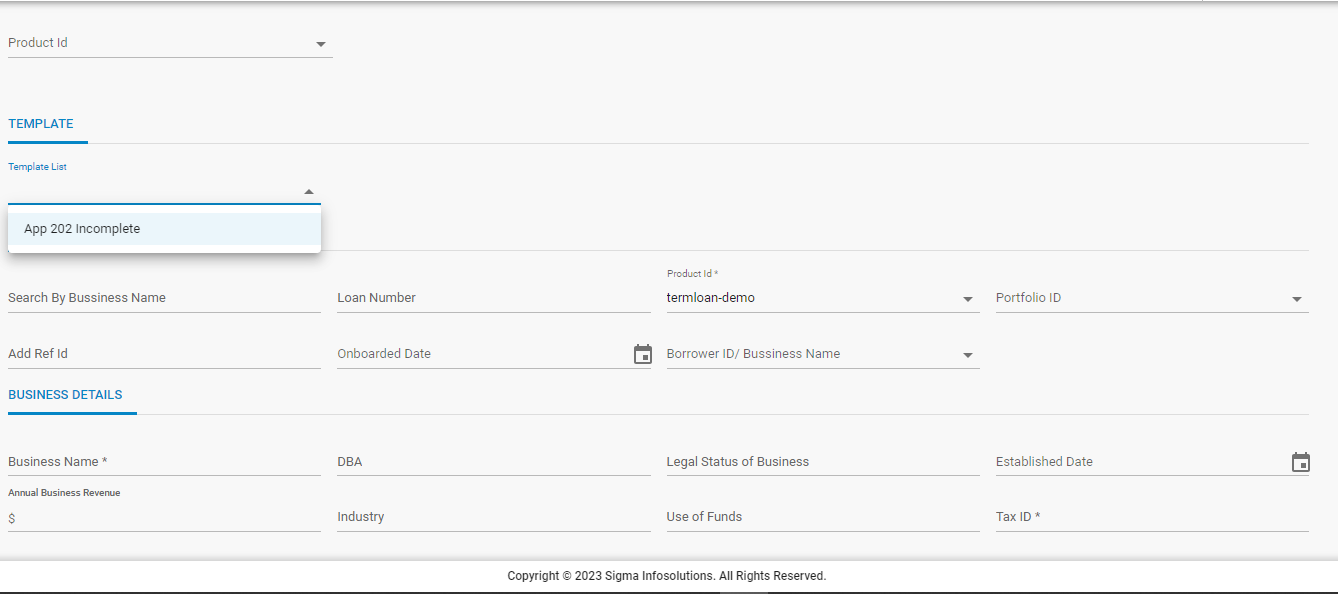
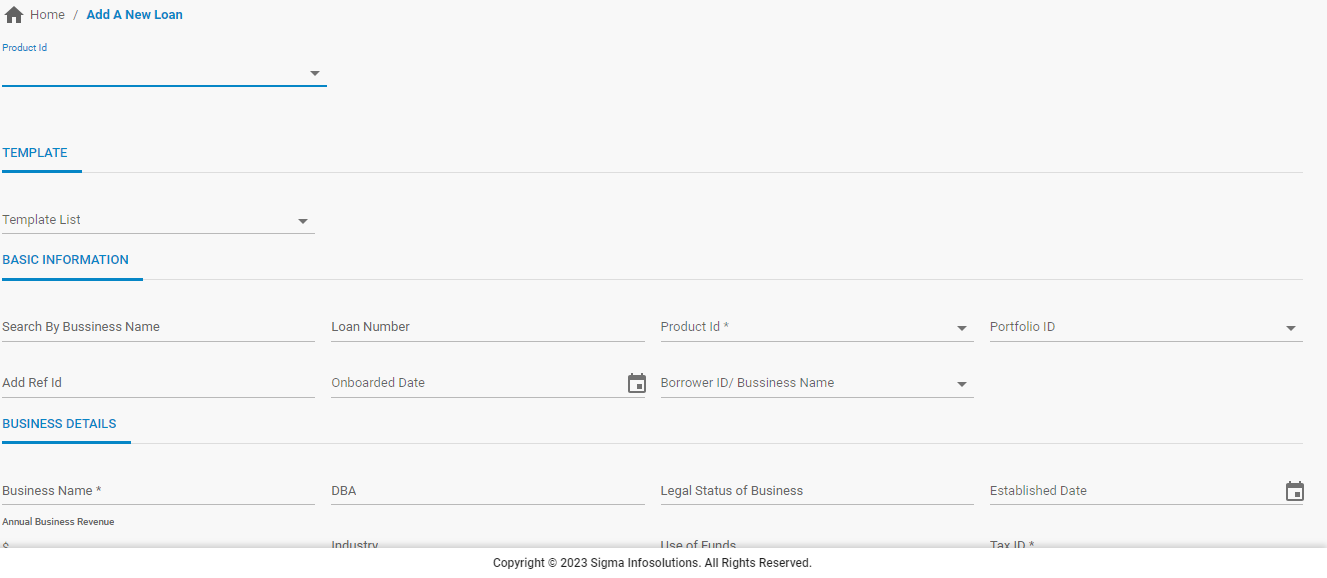
- It is possible to onboard a loan to LMS by using a template or adding all the data of the loan. Templates can be created by the users with pre-set data so that the loans can be onboarded quickly with minimal data entry.
- On clicking “Add a new loan”, the page is redirected to a screen where user can enter loan details
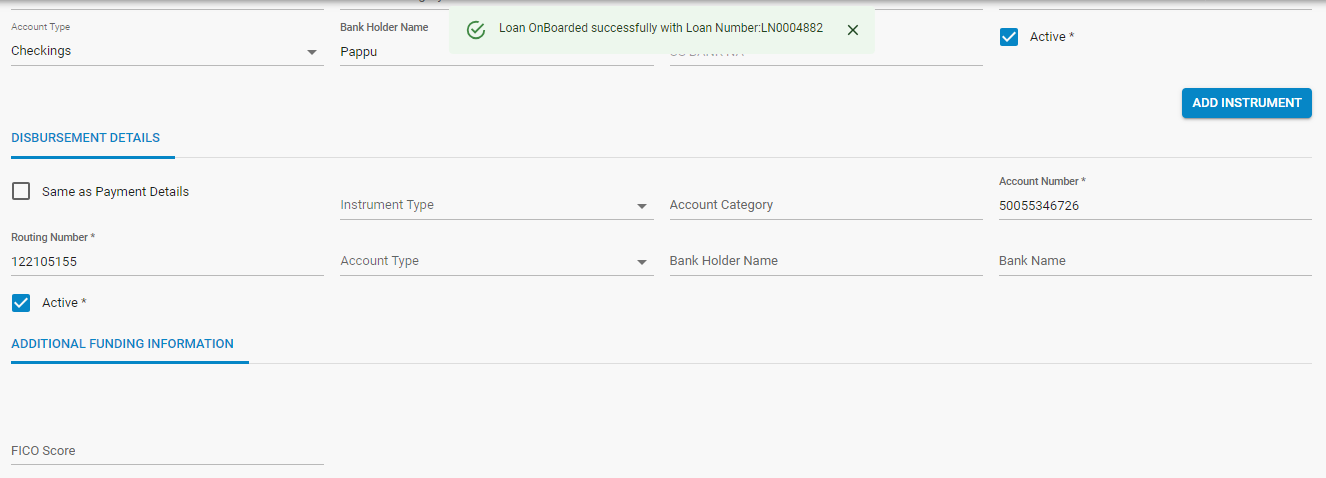
- Once details are filled out, at the bottom, 2 options are available, “Save Template” and “Submit”. If the “Submit” button is clicked, then a loan is onboarded and a success message will appear as shown below.
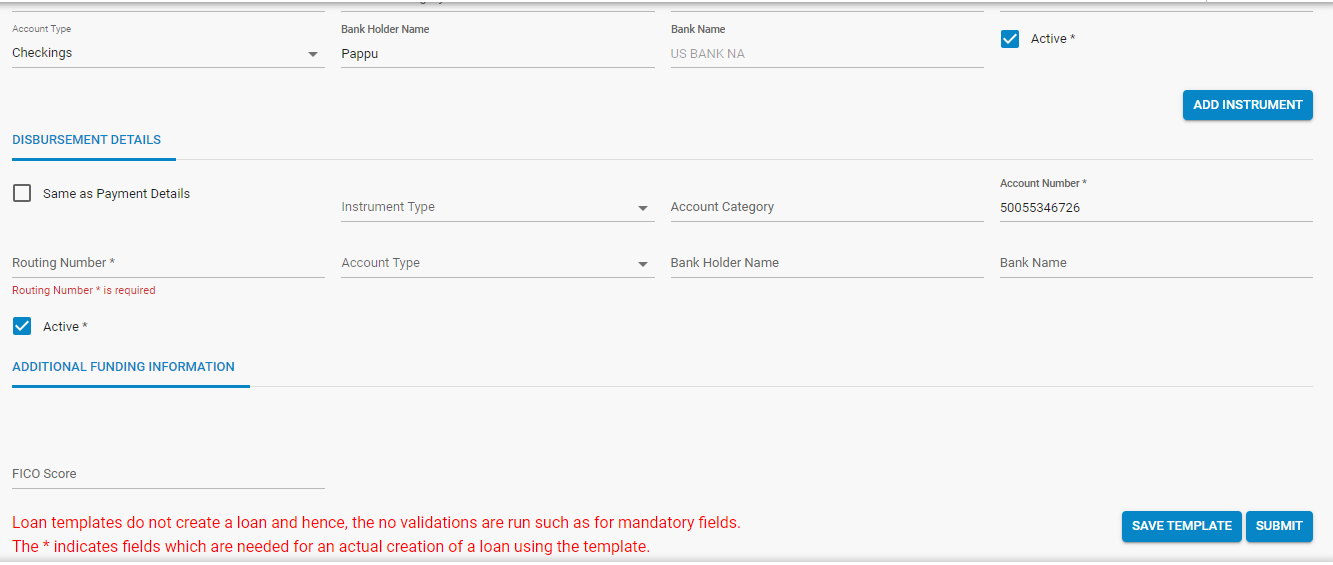
- If all the mandatory fields are not filled out, the application will not be submitted and an error message will appear, showing which mandatory fields are not filled out, highlighted in red.
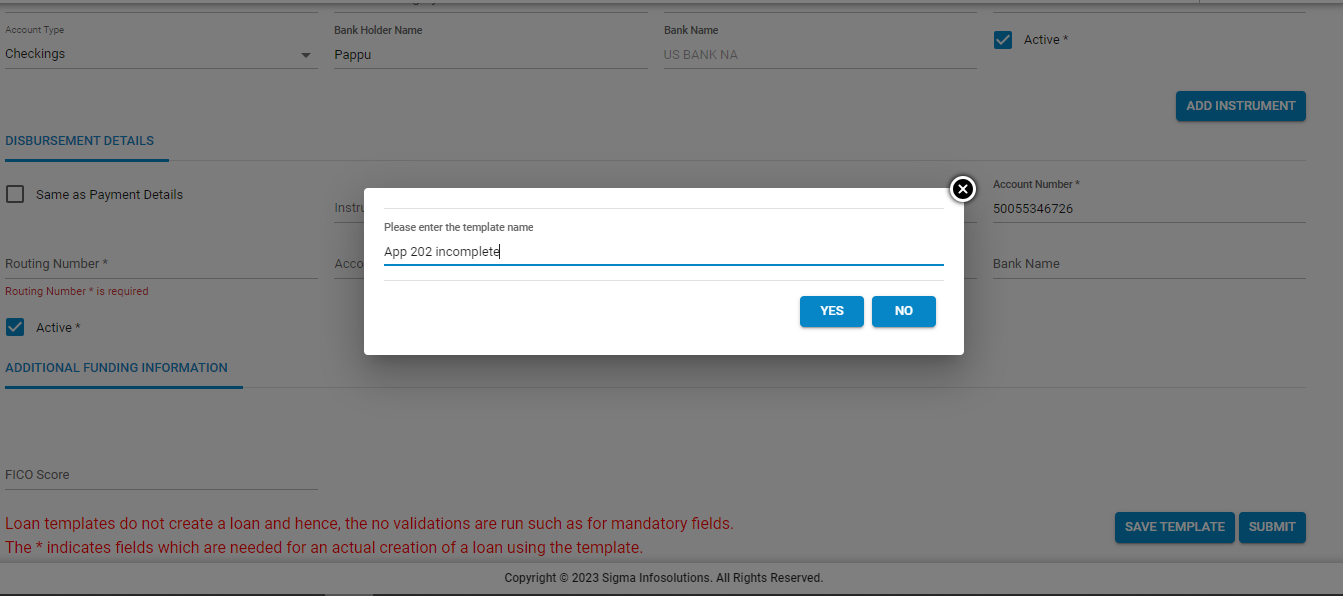
- However, if complete information is not available or the progress is required to be saved, hitting the “Save Template” button will do the job. Once the “save template” button is hit, it will present a prompt, asking for template name.
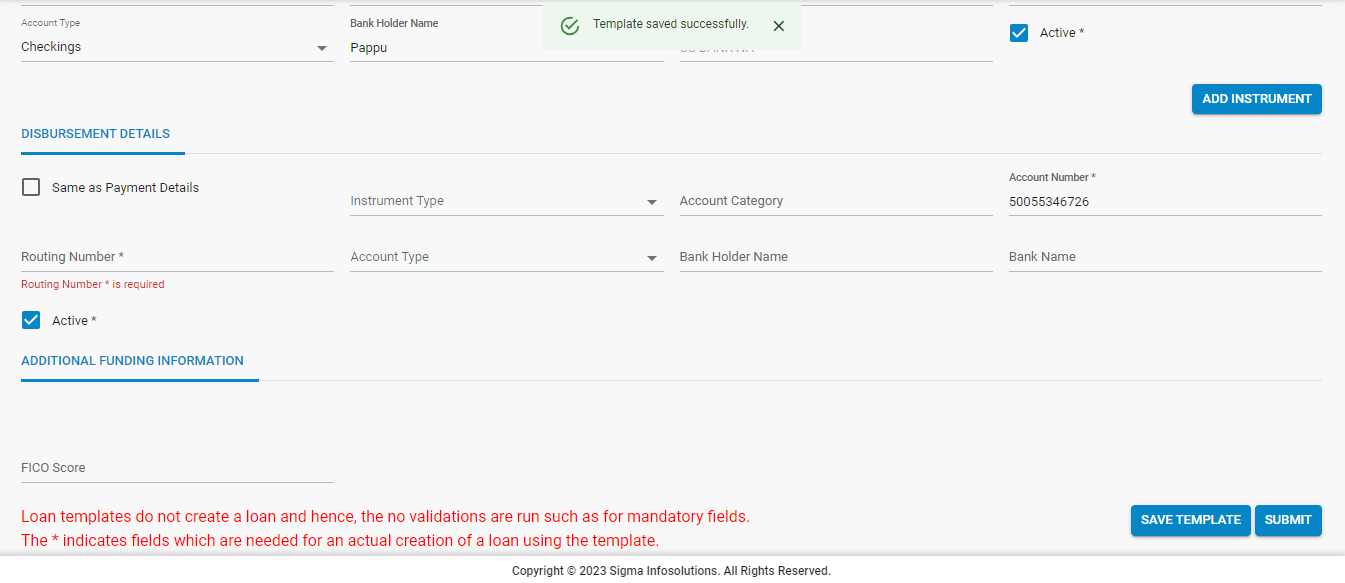
- Once the template is saved, an success message will be prompted
- This template can be used later as a shortcut to fill applications for loans which have similar parameters.